*1:30 note: Resistors are sold separately and not automatically included with LED products.
So you’ve been shopping for LED turn signals or an integrated tail light and have noticed references to an "LED Flasher Relay" and "Resistors". Or perhaps your bikes' blinkers are flashing really fast and you're looking for solutions and came across those two options. Ever wonder what the difference is between the resistors and a relay? We get this question a lot, and now you’ll have the answer.
Here’s the rundown. Most of todays’ sportbikes come with incandescent bulbs for their turn signals. As we’ve all experienced, incandescent bulbs will burn out over time. In order to alert the rider of a blown bulb, the OEM relay will force the bike’s signaling circuit to flash quickly – something we call “hyperflash” (for more info on how a relay works, see this Wikipedia article). There are even some bikes where the turn signal will stay on constantly.
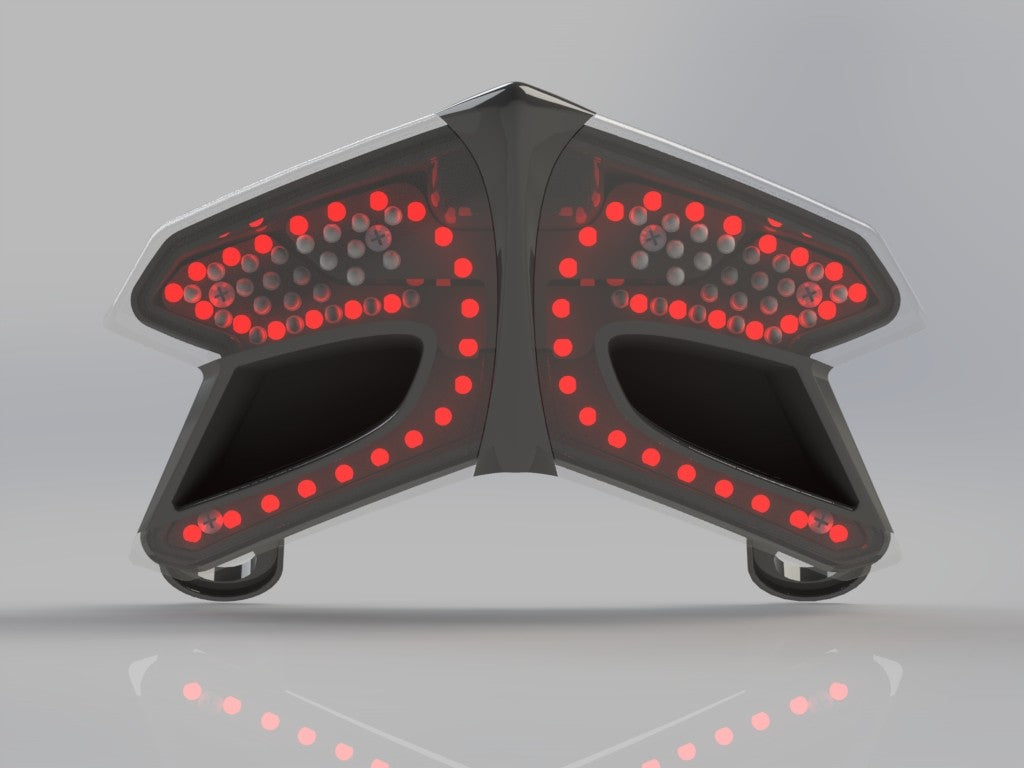
This alert system causes a problem when you want to go with LED turn signals, which are found in our integrated taillights1, pod signals2, and front flushmount signals3. Why do LEDs cause a problem? It’s because they draw very little electrical current when they come on. In fact, it’s close enough to zero current that a bike’s OEM relay can’t distinguish the difference between a functioning LED and a burnt-out incandescent bulb, so it goes into hyperflash mode.
1the turn signals are built into an integrated tail light, hence the word “integrated”
2pod signals are aftermarket blinkers that can go on a stock or aftermarket fender/license plate bracket
3we use LEDs in all of our flushmounts, including the TST exclusive HALO-1 lineup
Now that we understand the cause of hyperflash, we can talk about the 2 different ways you could fix it.
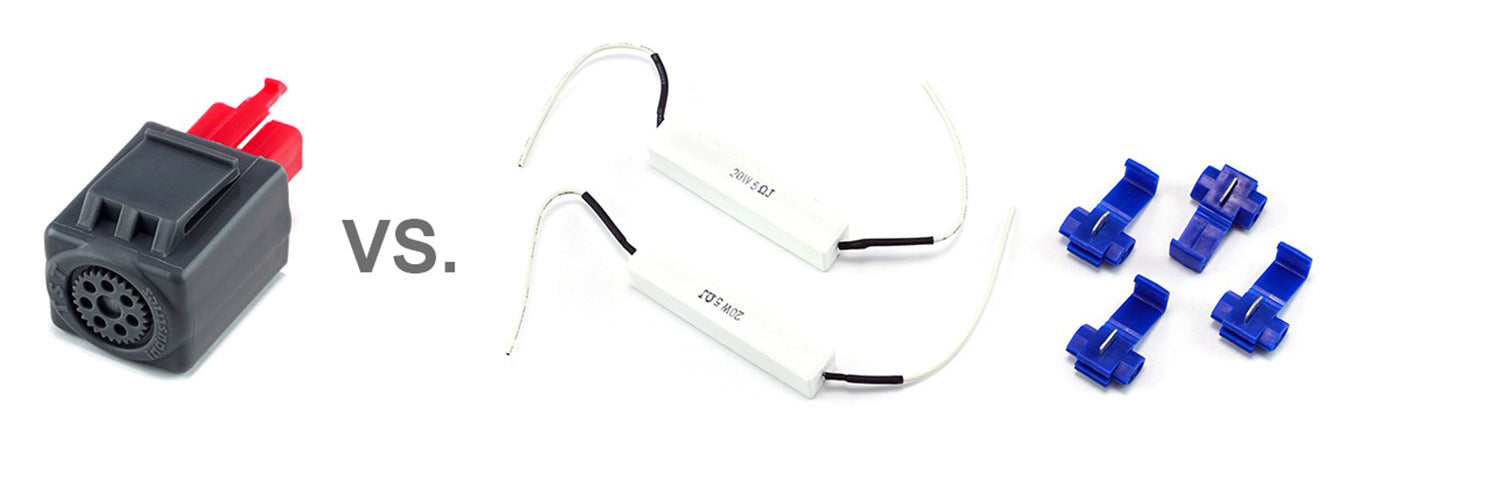
Number 1 would be to increase the amount of current the OEM relay sees when the LED signal lights up – an increase that would bring the circuit close to stock levels. That’s where resistors come in.
Number 2 would be to remove the OEM relay and replace it with one that flashes correctly even with LEDs. That’s where, well, the TST Industries relay comes in.
Let’s go more in-depth.
First up is the resistor solution. They get wired into the signaling circuit via a parallel connection, one resistor per LED signal. Without getting too technical, this simply means that the circuit experiences some additional current through the resistors when the LED signal comes on. So there you have it. Install one of these resistors into the circuit near your LED signal and you will increase the amount of current the OEM relay sees when the LED signal lights up (solution number 1). LED signal current + resistor current = incandescent bulb current. A special note to make here: you will (generally) have to wire in one resistor for each incandescent bulb you’re replacing. If you’re changing your front and rear signals (for example, installing flushmounts in the front and an integrated tail light in the rear), you’d most likely need to install 4 resistors in total.
Resistors are sold on our website under the "Universal" category. Although these are a viable solution, please keep in mind that they produce a lot of heat and should be kept away from any plastic panels. Because of this and often times difficult installation, we highly recommend going with an LED Flasher Relay.
Which brings us to solution number 2: replacing the OEM relay with one that flashes correctly even with LEDs installed. Well, not much to say here other than that’s exactly what the lineup of TST Industries Flasher Relays do! You simply take out the OEM one, plug ours in, and you’re good to go; hence the “plug and play” installation. This setup works for just about every case out there (unless you do something really weird with your turn signals). Not to mention, our relays even allow you to adjust the rate of your flash. Want it a little slower than stock? No problem. Want it just a smidge faster? You got it. All you have to do is turn a dial inside. And to make these even easier, we try to produce LED Flasher Relay installation videos for almost all of the bikes that come into our shop, which you can find on our YouTube channel. You also only need one LED Flasher Relay per bike, so unlike Resistors that could require up to 4 resistors if you were changing the front and rear turns signals to LED, the LED Flasher Relay method only requires one, and works with a total LED signal swap or a mix of LED and incandescent bulbs.
We have a few different relays that we manufacture due to the difference in style of OEM relay plugs. Our common ones are RLYG2 with a red female cap and RLYG2F with male plugs and a blue cap. Just navigate to your specific bike category on our website and order the relay that shows up in the product list. You’ll be all set.
Similarities and Differences Between Resistors and a Relay
| Feature/Spec | Resistors | Relay |
| How it works | Increases the amount of current in the signalling circuit to make it look like the LED signal is actually an incandescent bulb to an OEM relay, keeping the OEM relay out of alert mode | Replaces OEM relay entirely. Cures hyperflash by not going into alert mode with the low current of LEDs |
| Automatically included with most tail lights and some LED products? | Yes | No |
| Cost | Under $5 | Under $20 |
| Installation | Always wired in the same way. Time depends on comfort level with circuits and wiring. Keep in mind that resistors produce a lot of heat, so precations need to be taken during install to shield the surrounding components from excess amounts of heat. | Usually 5 minute plug and play deal, can vary from bike to bike |
| TST exclusive design? | No - common across the industry | Yes |
| What should I go with? | Go with resistors if you're on a budget and are comfortable with wiring, or in the rare case that we don't make a relay for your particular bike. | Add a relay to your order if you have the extra bucks to spend and are looking for a simple, one-and-done solution. |
Table of Various Signal Setups with Resistor and Relay Notes
| Turn Signal(s) Setup - (Front, Rear) | Number of Resistors Needed | Will replacing the OEM relay with one TST Industries relay work? |
| Totally stock. Incandescent bulbs in the front and rear. | 0 (duh..) | Yes |
| LED signals in the front/mirrors, incandescent in the rear | 2 (1 kit) | Yes |
| Incandescent in the front, integrated tail light in the rear (turn signals are a part of the tail light) | 2 (1 kit) | Yes |
| Incandescent in the front, LED signals in the rear (what we call LED Pod Signals) | 2 (1 kit) | Yes |
| LED signals in both the front and rear (could be an integrated tail light or LED pod signals in the rear) | 4 (2 kits) | Yes |
| Having enough turn signals mounted on your bike that you light up the night sky when you signal to turn left | You will probably ruin the stock relay anyway… | You would also probably ruin a TST Industries relay… |